No Longer Using WordPress

Hey all! I have been using both WordPress, and Blogger. Well more so Blogger, and importing my posts from there to here, but I kind of find it redundant to have two blogs with the same content, so I decided that I am going to strictly use my Blogger account (at least for now).

So for all of you who are following, or are subscribed to me (Thanks so much!) please subscribe to Beautiful Kinks on blogger.

Here’s the link

http://beautifulkinks.blogspot.com

Again thanks so much for following me! I really appreciate it!

Africa’s Best Ultimate Herbal Oil (w. Ginseng)

Africa’s Best Ultimate Herbal Oil

This product has been a staple in my regimen for a while now, and it is a gem!

I originally intended on using African Royale Hot Six Oil, since I heard so many great review, but I decided to go with Africa’s Best Ultimate Herbal Oil, since it was easier on the pockets.

 An 8 ounce bottle of Africa’s Best Ultimate Herbal Oil goes for $1.99 USD vs. $4.00-5.99 (depending on the retailer) for African Royale’s Hot Six Oil.

African Royale Hot Six Oil

I cannot attest to whether one oil is better than the other, as the both contain natural ingredients, all except the last, which is fragrance.

This oil smells like baby powder and has a very light consistency. It is pretty easy to apply.

I add it to everything, I seal with it, I use it on my scalp, as a prepoo, mix it in my setting lotion for rod sets, in my deep conditioners, I adore this oil! It can also be used for your skin, and nails/cuticles! It always leaves my roots soft, and hair with a nice sheen!

The Ingredients:
Soy Bean Oil , Walnut Seed Oil , Kiwi Fruit Extract , Olive Fruit Oil , Castor Seed Oil , Sesame Seed Oil , Jojoba Seed Oil , Carrot Seed Oil , Sweet Almond Oil , Tocopheryl Acetate , Safflower Oil , Calendula Extract , Yarrow Extract , Cucumber Extract , Carrageenan Extract , Ginseng Extract , Sage Extract , Comfrey Extract , Aloe Extract , Fragrance

For $1.99 this oil is a great deal! It will always be a staple in my regimen. It gets a 5/5 from me!

Until Next Time, Naomi~

(Yarn) Braid Regimen

Hey all!

I am loving my braids so far! I have been experimenting with styles here and there, which I have yet to take a photo of! I will make sure to do next time.

Lately my favorite style so far is a high bun.

Anyway, my regimen so far…..

-Moisturize 4x a week (Using diluted VO5 Moisturizing Milks Passion Fruit Smoothie Conditioner with Home Health Castor Oil)

– Wash 2x a month (Have yet to decide on shampoo)

– Deep Condition 2x a month (Have yet to decide on dc)

-Oil scalp 1x a week (Using a mixture of Lavender Jamaican Black Castor Oil, and Home Health Castor Oil)

I have yet to wash or deep condition my braids, which is why I have not set products for them. I have never deep conditioned my hair while it is in braids, so I am nervous about doing so. I may baggy with oils overnight, in place of deep conditioning.

Either way, I want to ensure my hair gets moisture while in braids, as I want it to grow! However, I do not want to get product build up, which is why I do not oil my scalp too often, and am weary of deep conditioning.

I will be washing my braids and I also want to do a moisturizing treatment next weekend, so I have some time to think about whether I will be deep conditioning or baggying. I plan on keeping my braids for 7 more weeks, and I will be rebraiding my edges in time for Christmas, so they will look fresh for the holiday!

Happy Thanksgiving!

Hey all, I am a bit late, but I hope you all enjoyed your holiday!

African Royale BRX Braid & Extension Sheen Spray – Review

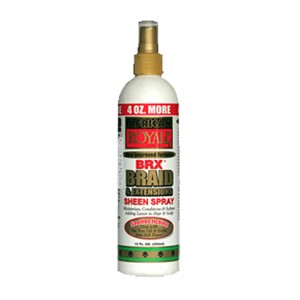
I use my own concoction to moisturize my braids, but staying with family I came across African Royale BRX Braid Sheen Spray, so I gave it a try.  I have always wanted to use braid spray, but never got around to buying one, I don’t wear braids too often, so I suppose that is why.

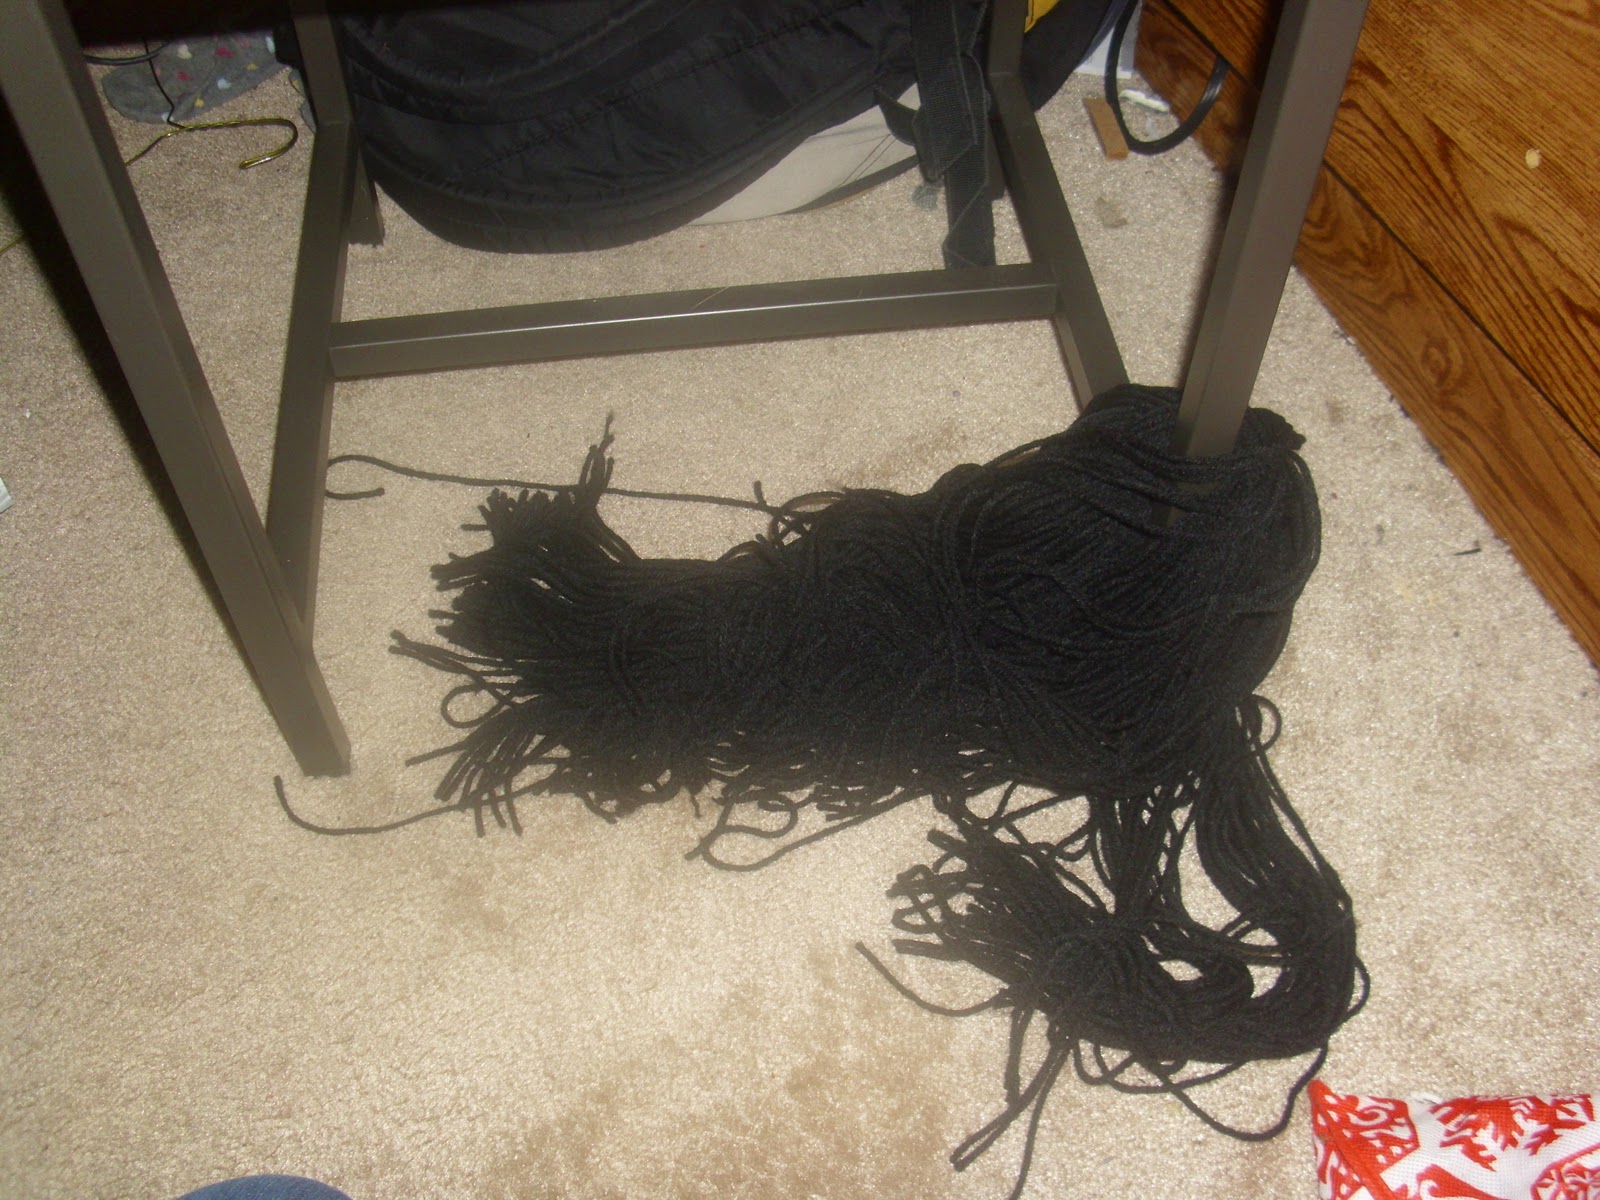
I sprayed my braids, and made sure to do the full length, and then sprayed my scalp.

It smells nice but literally 5 minutes later, my scalp was itching like crazy! I can’t scratch my scalp, so I’ve been doing the ‘Pat My Weave’ dance. It does not itch as much since a few hours have passed, but I am quite disappointed. I had high hopes for this braid spray, especially since it was my first time using this product. I must be allergic to one of the ingredients, I am not sure which.


Ingredients:
Deionized Water , Glycerin , Propylene Glycol , PPG-12-PEG-50 Lanolin , Dicetyldimonium Chloride , Polyquaternium 32 & Paraffinum Liquidum , Tea Tree (Melaleuca Alternifolia) Leaf Oil , Polysorbate 80 , Oat (Avena Sativa) Kernel Extract , Allantoin , Silk Amino Acids , Sheep Sorrell , Yarrow , Slippery Elm Bark , Sage , Henna , Comfrey , Burdock Root , Goldenseal , Cherry Bark , Ginseng , Black Walnut , Chamomile , Alfalfa , Hyssop , Wheat Germ , Methyl & Propyl Paraben , Fragrance

The spray smells lovely, but I find that it dries very quickly, so I am not sure how moisturized my braids are. Either way, I cannot use it on my scalp. I am going to try to pay attention to the ingredients in this spray, to see if any other products I have contains any of the ingredients and see how my scalp reacts.

Sadly enough trial and error are the only way to see how well your hair will react to a product, luckily for me, I did not have to purchase this spraIy. So if you can try sample sizes, or travel sizes when trying a new product, I suggest doing so. It can save you some money!
.
As far as moisturizing goes, my hair does not feel any better or worse than it did before I sprayed them with this product, I cannot speak for my scalp, since I had an allergic reaction, so even with only one use, this product did not do it for me.

I guess I can give it a 2 out of 5, just because I like the way it smells!

Yarn Braids-Results

Hey guys!

After a grueling 20 hours (I’m a slow braider) I am finished! (Of course with breaks here and there.)

To my surprise, I only used about half or a 3/4 of one spool of yarn! There is still a good chunk left over, and I actually did the braids smaller than I originally intended.

My parts are not the best, but I would say I did pretty well for a first timer!

 I will admit, I did encounter some knots, my fault though, I did not moisturize properly, and started yanking the yarn out to redo some braids. I did not have to cut much knots out, maybe 3-4 strands, but I am hoping that the length grows back by the time I take them out.  After moisturizing, and combing through each strand properly, I did not encounter any more knots. Thank goodness!

I am not exactly sure how I will upkeep them. I plan on washing at least bi-weekly, and maybe baggy (baggying is when you apply an oil or moisturizer, and use a plastic cap, shower cap, or plastic bag over your entire head, or ponytail, for a couple of hours or overnight to lock moisture into your hair) in place of deep conditioning. I have not quite figured it out yet. I plan on keeping these in for at least a month, so I will have to develop some kind of regimen. I will keep you guys posted on that one.

Anyway, I just wanted to share my results with you all!

Until Next Time, Naomi~

Yarn Braid Prep

I know it has a bit since my last post, but I have been prepping my hair for Yarn Braids (similar to Individual/Box Braids, the only difference is instead of hair, yarn is used). So I have been getting my final Cayenne Pepper Treatments while my scalp is free.

This will be my first time wearing/installing them.

Today I have both a hard protein treatment, and moisturizing deep conditioner. (you should always follow hard protein treatments by a moisturizing deep conditioner, as you want the hair to have balance, and not tangle or break)

Now on to the yarn…

My Tools:

A Chair- To wrap yarn around base, to make sure yarn is cut evenly
Hair Shears- To cut yarn
Shea Butter- In case hair feels dry
Lighter- To burn ends of yarn to secure
Comb- To make parts

Those are all you need really. At least it is enough for me.

I purchased two spools of yarn from Wal-Mart. Red Heart brand for $2.33 and  the lighter from my local supermarket for $1.49 USD. So overall, this style costs less than $6.00 bucks (without tax).

I have already moisturized and sealed my hair, I braided my hair into six plaits, to stretch my hair since I had to go out. It was not dry by the time I got home, so I blow dried my hair by each plait/section.

My hair blow dried.

I wrapped the yarn along the legs of my chair, to make sure to cut evenly, I say they are about 16 inch ‘strands’.

Here’s how it looks wrapped

Here’s how it looks cut

I am starting to braid tonight, we’ll see how long it takes to finish. Wish me luck!

Until Next Time, Naomi~

Cayenne Pepper + Shower Cap= Steam

 As you all know, I have been using ‘Cayenne Treatments’ to aide growing back hair on my bald areas. It really on consists of water and ground cayenne pepper. All I do is apply it to my bald spots, and throw on a shower cap, and let it sit on my scalp for a few hours.

I make sure that it has a pate like consistency, as it is easier to apply and does not drip.

The past few times while doing my treatment, I noticed condensation on the inside of my shower cap. Similar to what happens to your mirrors in the bathroom while taking a hot shower.

Maybe it is the heat my scalp is giving off from the cayenne pepper being on it, as cayenne pepper helps with blood flow. So I’m thinking that is what causes the steam.

It is not immediate, it happens over a couple of hours, I am sure because, hot air is being trapped. I cannot tell if it does anything for my hair, as I usually prepoo overnight, and do the treatment the following day before shampooing.

It still is pretty cool. Here’s a pic.

Not a very clear pic, but it looks kind of foggy under there. Either way, my hair is always super soft after doing my treatment (prior to prepooing).

Steaming your hair helps soften and restore moisture back into your hair. You can do a makeshift steaming, putting a plastic cap on your head, and  wrapping hot towels around , I have heard turbie twist towels are good for that. Or you can invest in a hair steamer.

Just wanted to share.

Until Next Time, Naomi~

(Finger) Coil Out Results

As promised, I am back with pics of the results of my (Finger) Coil Out. I did not use an product, just used my fingers to pull the coils apart, and threw on a headband.

I am pleased with the results, so I’ll be adding this style to my repertoire! I actually find that the curl definition I got with this coil out is similar to two strand twist out curls. If you do smaller twists as I tend to do.

I only wore this coil out for a day, since I had to cowash (itchy scalp), but I am sure this style can last 2-3 days, perhaps more depending on how you care for it.

Although my hair type is 4a, I am sure 4b’s and 3’s can try this style too, since it requires you to use a curl defining product (gel, hair puddings, etc)

Anyway, just wanted to share, hope you guys like it, and try it for yourself! Comment and Subscribe!

Until Next Time, Naomi ~

New Low Manipulation Style: Finger Coils!

Yesterday I went through my normal wash day routine.

I have a couple of different brands I use,  but I ended up using Suave Naturals Tropical Coconut  to wash, cowash. 

I of course prepooed overnight, with coconut oil, after putting my hair plaits. I was able to do so did so overnight by using saran wrap. I made sure to put on my satin scarf and bonnet for good measure.

I made my own deep conditioner mix, using oils mixed with the Suave conditoner, and oiled scalp with JBCO/Castor Oil mix. I am out of leave in, so also used the same conditioner as leave in and sealed with coconut oil.

Now here came the hard part, deciding on whether to do a Low Manipulation (a style that requires little maintenance/does not need to be combed or redone. ie. Bantu Knot Outs, Braid/Twist Outs, Rod/Rollersets, etc.) …… or Protective (styling that ‘hides’ your ends. These styles help retain length because your ends are not able to rub against clothing are are not subjected to the elements)

There are my go to hair styles , but I like to try something new every once in a while to switch it up.

So I eventually decided on low manipulation.

 Playing in my hair I realized that it can coil around itself resembling a curl. So I decided, ‘why not try to do that to my whole head’?!

 I have products on my shelf that I rarely used, so I picked one of those to do my finger coils with, Redken Curlwise 14. It is a free sample I had received a while ago, and I have used it to do two strand twists, so I knew it would be okay to use.
Especially since this product is ‘meant’ to define curls.

This style was relatively simple to do, all I had to do is put a bit of product on my finger tip, and ‘twirl’ the hair around my finger.

I am sure you can use regular gel like Eco Styler brand, or your preferred gel or even a lock and twist gel like Organic Root Stimulator brand or something similar. I think anything product made to define curls would do.

Here are the results

It is a simple style, only took about an hour (if that) to install. It depends on how big or small your finger coils are. I like it so far, it kind of gives me the locked hair look, without the commitment.

Finger coils can start to lock (which is great if you are looking for, duck bill metal clips, may also be of help.) if kept in too long, so I plan to pull them apart tomorrow. Hopefully it will result in cute curls! *crossing fingers*

Will keep you guys posted on that one.  Anyway I just wanted to share.

Until Next Time! Naomi~

Previous Older Entries

Blog Stats

  • 69,358 hits